Quarantine has had us, like many others, finally doing lots of projects we’ve wanted to do around the house. My husband has worked tirelessly outside putting in a french drain and landscaping the backyard. We just have some finishing touches to do and then it will be done. Since we are wrapping that up, I’ve started several projects inside the house.
When we bought our house last year, we loved the wooden shelves the previous owners had in the kitchen. Unfortunately, they took them down when they moved out. Life got busy, and we just never really looked into buying or making any. Then suddenly we have a lot of extra time at home (looking at you Covid-19) so we decided to tackle making some ourselves. I absolutely love how they turned out! The best part is they took very little time or skill. They were also inexpensive to make, but look like high quality shelving that we could have purchased.
What you’ll need to purchase:
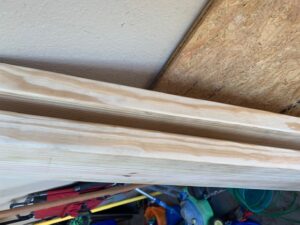
Wood- My husband purchased an unfinished board that was 2″ thick and 10″ wide from Lowe’s for around $10. It was twelve feet long, so we were able to get two 4 1/2 foot shelves out of one board.
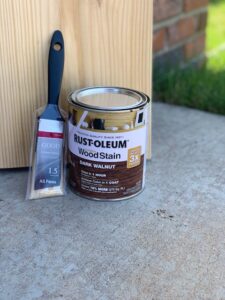
Wood Stain (you can pick up one from Walmart or order this one from Amazon)
Brackets- The possibilities are endless depending on what look you are going for. Our house is decorated in a modern farmhouse-ish style, so metal brackets were what we decided on. We purchased these from Amazon and they arrived in about three days. Our shelves are 10 inches wide, so we ordered an 8 inch wide bracket. This is big enough to support the weight of the shelf, and gives a nice look.
Now you’re ready to begin! After my husband cut the board to the size we wanted, he used a sander to go over all the edges where it was cut. Then I used 150 grit sand paper to sand down every inch of the board. We were going for a rustic look, so I didn’t worry about it being too perfect. Sanding is a must if you want to ensure that the wood will take the stain somewhat evenly though.
I hadn’t really ever stained wood, so I had some learning to do. I used a test piece of scrap wood to get the hang of it. At first I didn’t stir the stain up well enough, so I thought it was too light of a color. Then I realized that there was a good deal of stain sitting at the bottom of the can. Once mixed thoroughly, it was perfect. The key to getting a good stain is to paint some on with a brush and then follow by wiping off the excess with a clean, dry cloth. I took it about a foot at a time painting, wiping, then repeating. The wood only needed one coat and it dried in less than an hour.
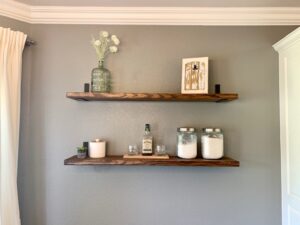
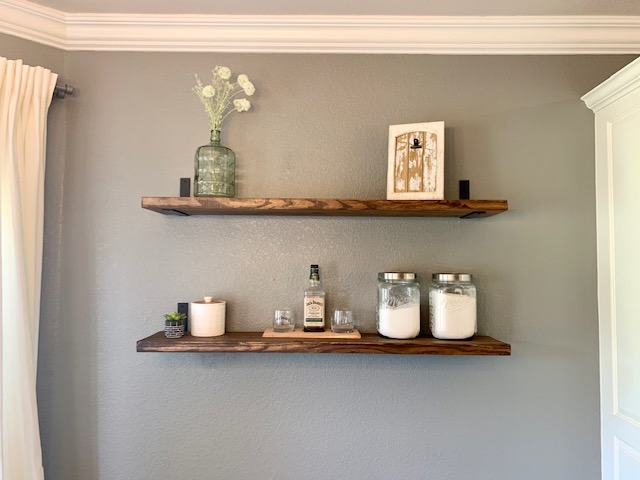
To install it was as simple as screwing the brackets into the studs on the wall, placing the boards, then securing the boards to the brackets. So simple! The shelves aren’t anything fancy, and I haven’t entirely decided how to style them, but I’m so happy with how they transformed our kitchen. It’s crazy how a few simple shelves can really add to the space. If you are looking for an easy project that you can knock out in a day, make some shelves and change the look of any room in your house. I’m already considering making more for the boys’ rooms and the guest bathroom.